I have been a cloud storage user for years. I started with Dropbox, which offered over 100GB of drive space for free, through a number of promotions and collaborations (e.g. with Samsung). It mainly contained my university stuff and some code projects (this was pre-[tooltip tip=”Version Control System“]VCS[/tooltip] time). Over time, it grew to a massive amount of data, nearly filling up my limits. Then, Dropbox decided to expire my free space, degrading my total space to merely 2GB. Hence, I could not sync my data between devices anymore. Long story short, I have been looking for a new cloud solution for years.
My requirements were:
- A lot of space (duh!).
- Preferably privacy-oriented, hoster should not be able to access my files.
- If 2. is not possible, prefer a self-hosted solution.
- Free as in beer, or at least very cheap.
- Can sync with multiple devices (Linux, Windows, Android, media server).
- Accessible from anywhere (but only by me).
So while looking through the different services, not many providers were able to fulfill most of my requirements. Dropbox offered some space for a small price and excellent synchronization between devices, but it had suffered major data breaches and was known to collaborate with law enforcement to find and remove specific data, which meant it was able to read (or at least fingerprint) my data. Then Google Drive…yeah, I have an Android phone and Google has already enough data about me, so this was a hard pass! I tried Box which offered a nice free trial, but it had only limited syncing abilities with Linux and Android (at the time). Also similar privacy implications as Dropbox. Also, SpiderOak is always suggested for privacy-oriented people, but the prices were a bit too high to host all my stuff there. For some time, I used Powerfolder, which is a cloud solution for businesses (and some universities). Another possibility is setting up an Amazon AWS instance and build a self-hosted solution with some open-source tools to add sync functionality etc.
It is really difficult to trust any provider with your most intimate data. Any company can be hacked, your data stolen or deleted. Same with software. What prevents any developer of a freely available software to include code which sends your data back, or to sell the data to a third party?
After some research, a self-hosted Network Attached Storage (NAS) seemed like the ideal solution for my use case. Compared to my requirements above:
- You can buy more or bigger drives to increase storage. The immediate costs are higher than “renting” a drive in AWS, but they amortize over time.
- No third party can access my files.
- See 2.
- The initial costs are high, but as long as you do not have to replace any hardware parts, operational costs (electricity, wear) are pretty low.
- By using standard protocols, you can achieve synchronization over different devices. Of course it is a bit more cumbersome than using one application for everything.
- Yes, needs some setup of your home network’s firewall.
I also decided against a pre-built NAS model, such as Synology, QNAP etc. The reason for this is rather simple: They cost a lot of money for very limited functionality, extensibility and hardware features. Maybe this is different for high-end machines, but these are not in the budget anyways. Also, I have built enough machines on my own to know how they work and what I need to do. Also, setting up a system from scratch and setting it up is a lot of fun!
This post may contain affiliate links. If you buy something through one of those links, you won’t pay a penny more, but I’ll get a small commission that helps keep the lights on. Thanks!
Where to start?
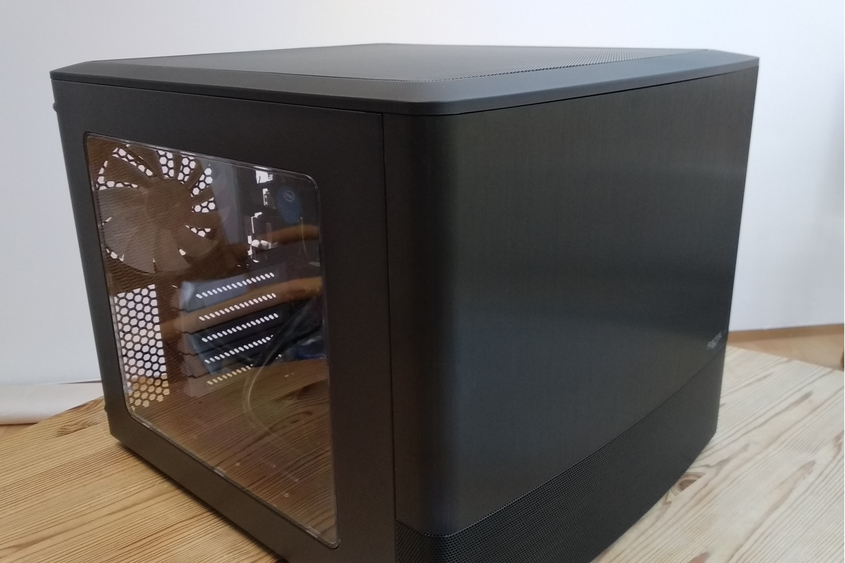
The first step is planning and acquiring the hardware. I decided to use a very nice case from Fractal Design, the Node 804. It has a cool window on the side and, the reason I chose it, it is not that tall (like a tower) and looks good. Also, it has room for lots (6-10!) of hard drives in different form factors, which helps when I want to extend the capacity of my NAS later on.
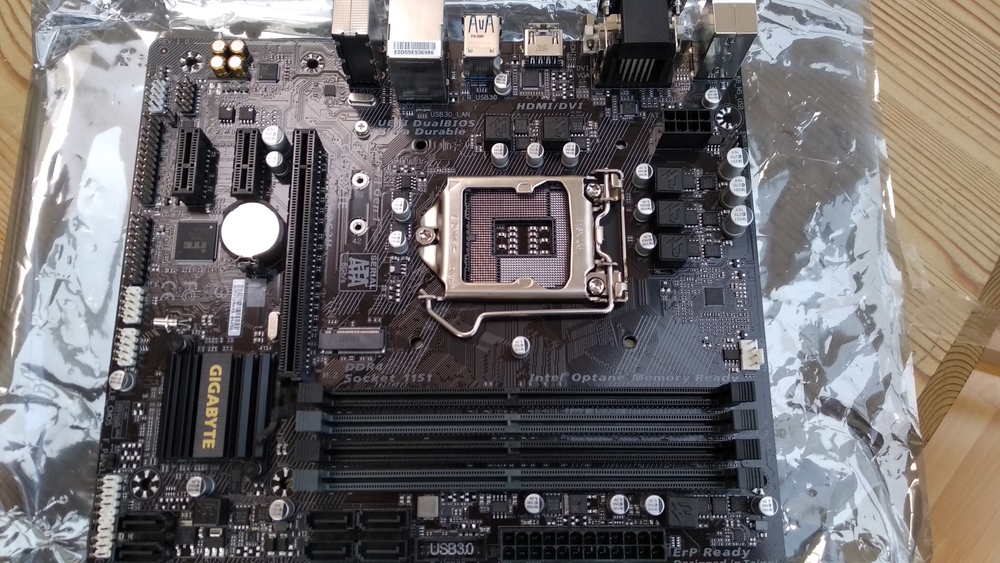
Next is the motherboard. Basically, any Micro ATX board will do, but you need to check the number of SATA drives you can use (in my case up to 6), and the other stats, such as max. RAM etc. I chose the Gigabyte GA-B250M-DS3H board (note the DS3H).
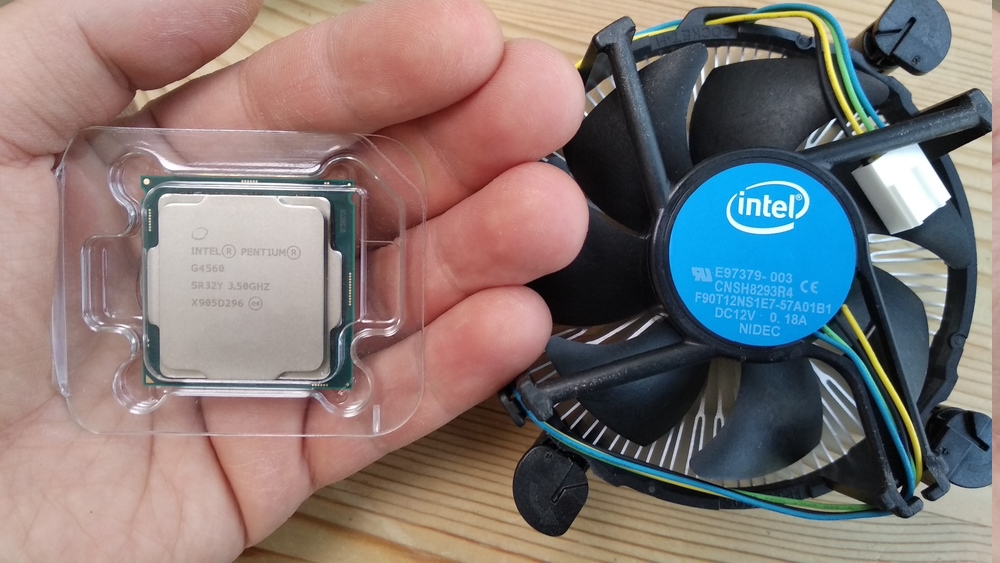
Before you choose a CPU, you have to know what it needs to do. Does it need to do heavy calculations (software encryption), video processing (4k video transcoding is expensive) or similar? Then choose an appropriate processor for that (or even use a dedicated graphics card)! For my use case, a simple dual core processor is enough. I chose the Intel Pentium G4560 3,50GHz Boxed CPU. You may ask: Why chose an underpowered CPU, instead of a Quad- or Octacore CPU? Because it is underpowered! Which means it needs less electricity, which reduces the operational costs of my NAS. You need to find a balance between performance and power consumption there, and the CPU above hit the right spot for me.
For RAM, I used two DDR4 sticks (4 GB each) from Crucial. I also used a WD Green SSD where the operating system is stored. You can also choose to boot from an USB drive, but the chance a flash drive fails is definitely higher.

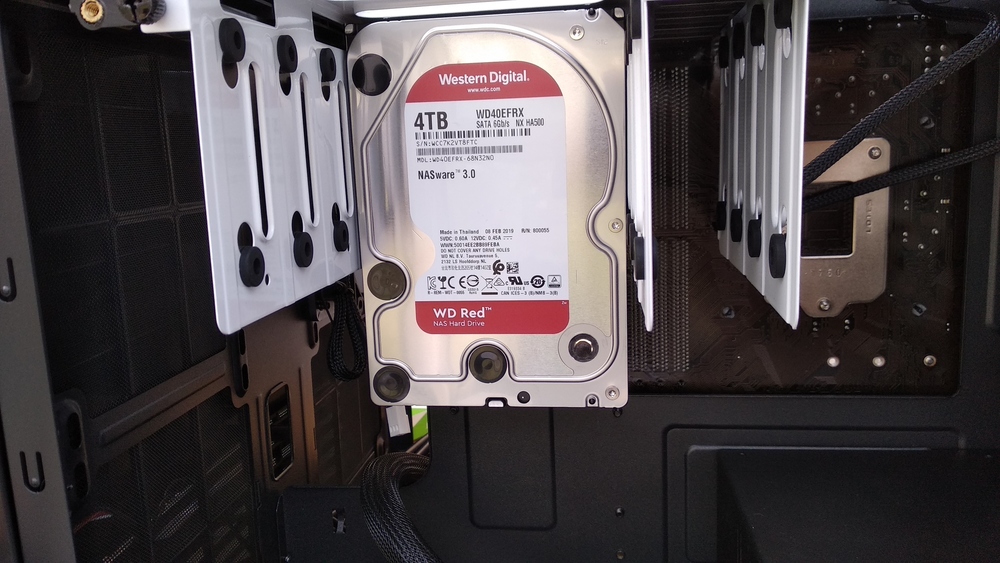
For the drives I used two WD RED drives, which are optimized for NAS systems (that usually run 24/7). There are models with 2 TB up to 8 TB, which have varying prices. If you are trying to buy, check the price per terabyte. In Germany, everything under 25 € / TB is good for WD Red drives. You should also look out for deals on Seagate Ironwolf drives, which are also explicitely made for always-on systems. You can also mix both, that should not matter to your NAS.
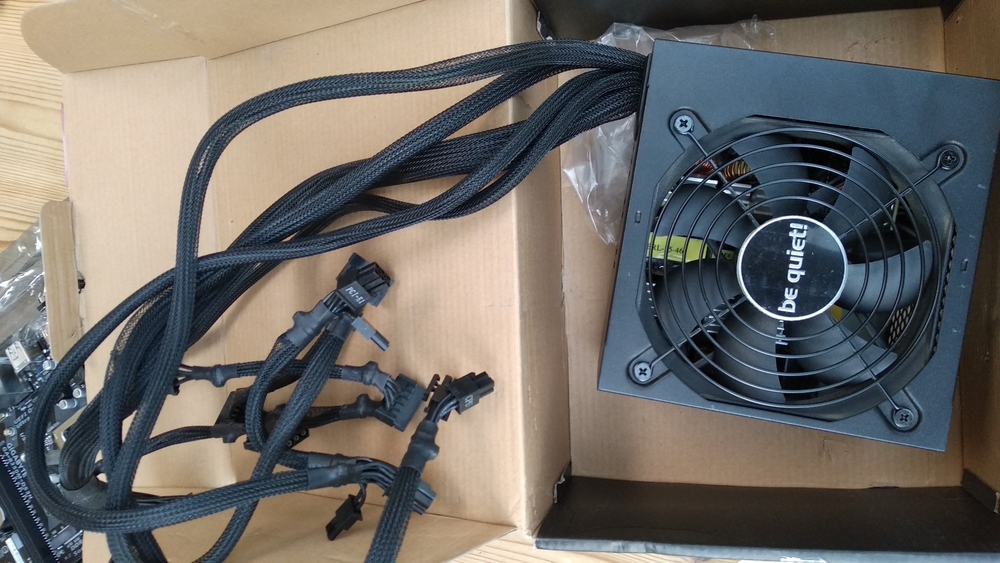
With the power supply (be quiet! BN240), everything is ready to be mounted.
Putting everything together
I will spare you the details on how to build it together, so I will just add a few photos I took while putting it all together.
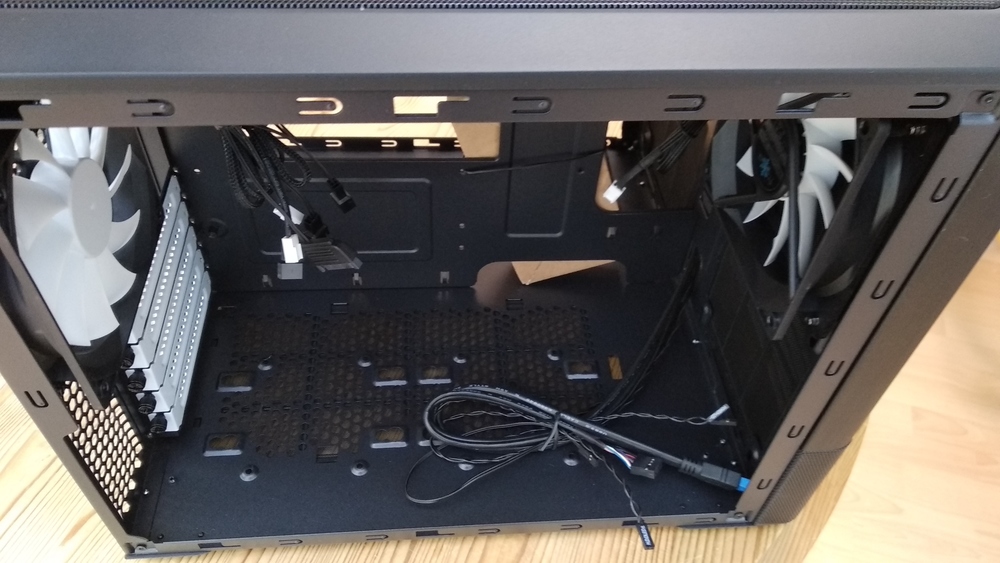
The empty case. It has multiple integrated fans. 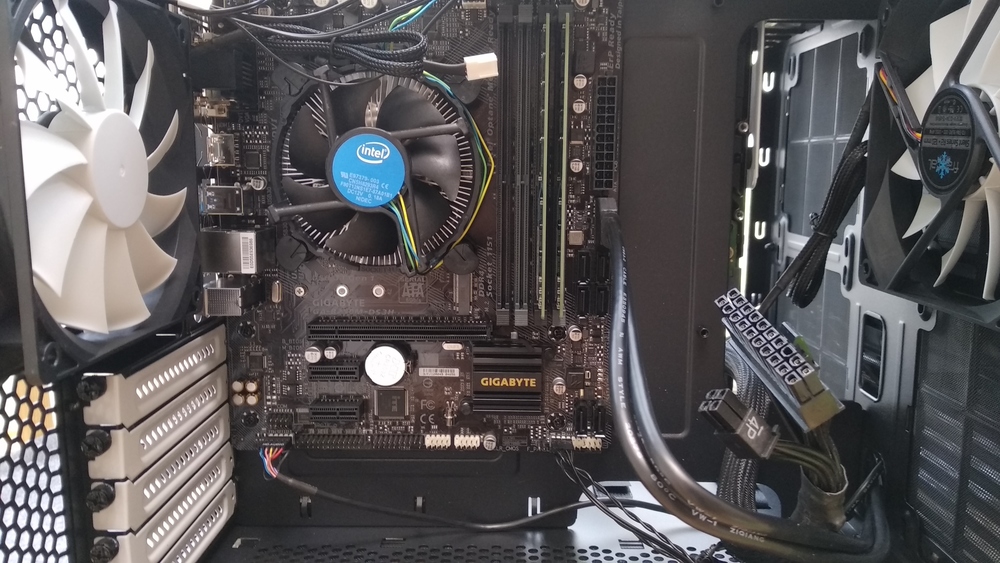
Motherboard fixed inside. 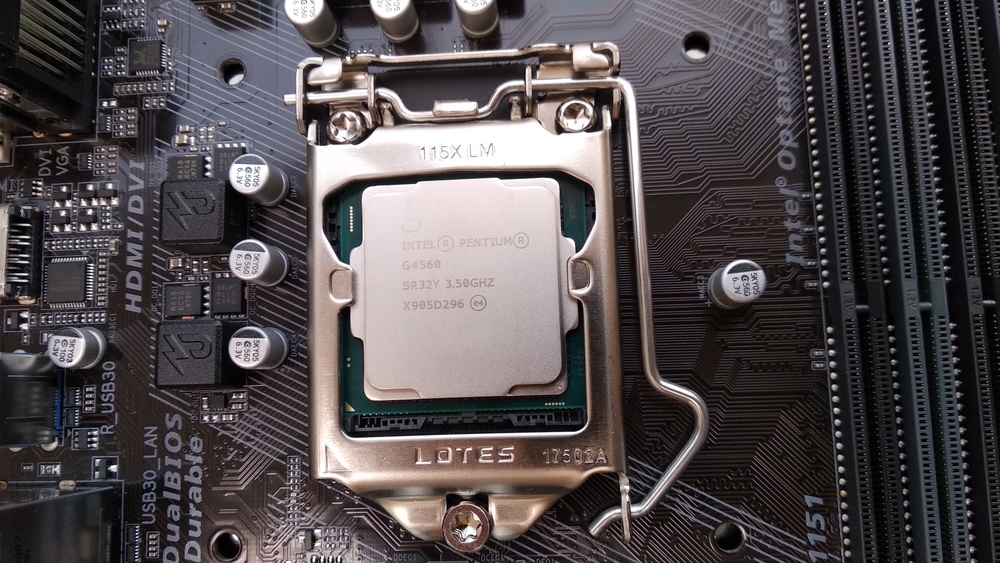
The processor put inside the socket. 
This dust protector was included with the mainboard, but… 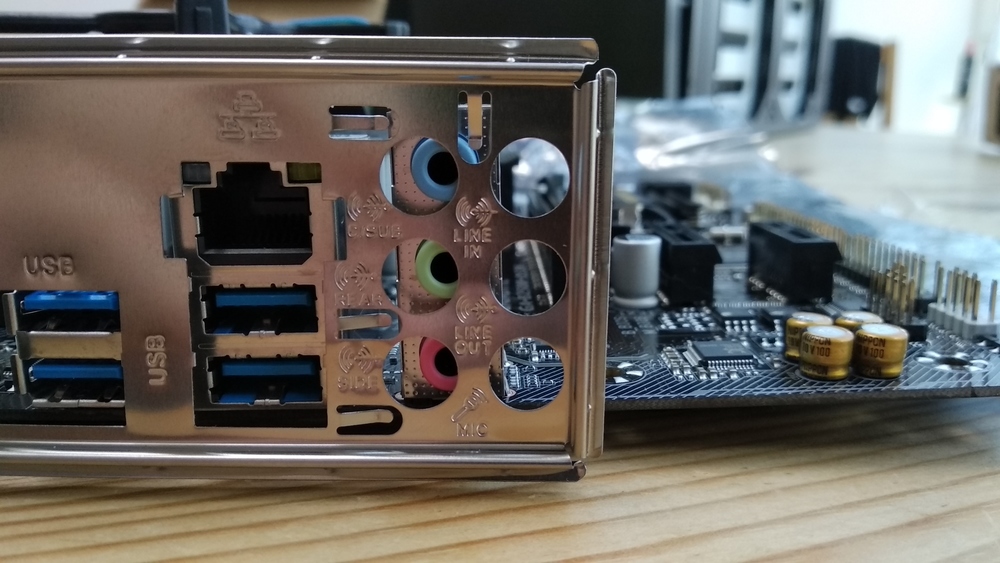
…somehow the parts don’t fit. I had to break it open to fit. 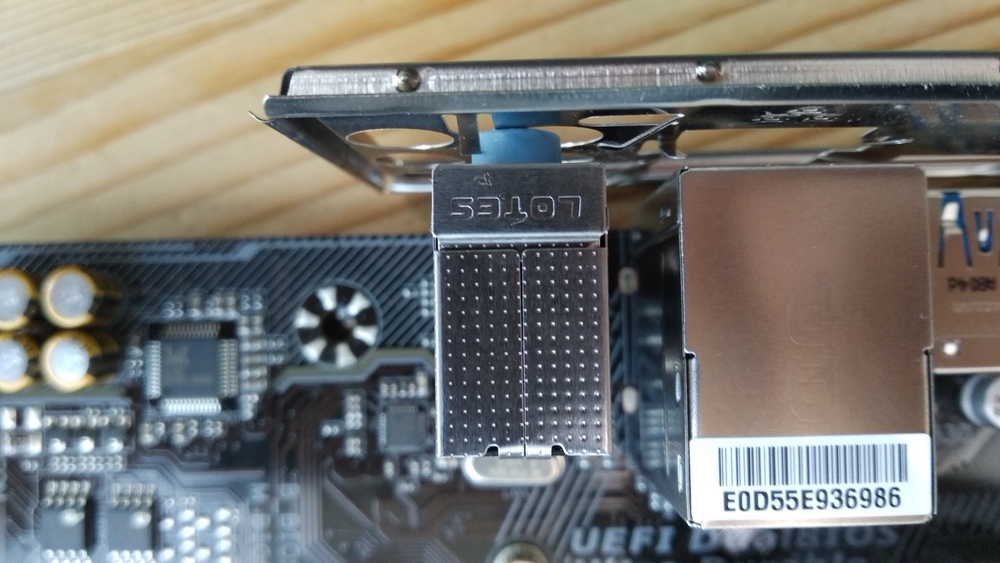
View of the protector from above. 
The case from the other side. You can see all the slots for the 3.5′ drives. 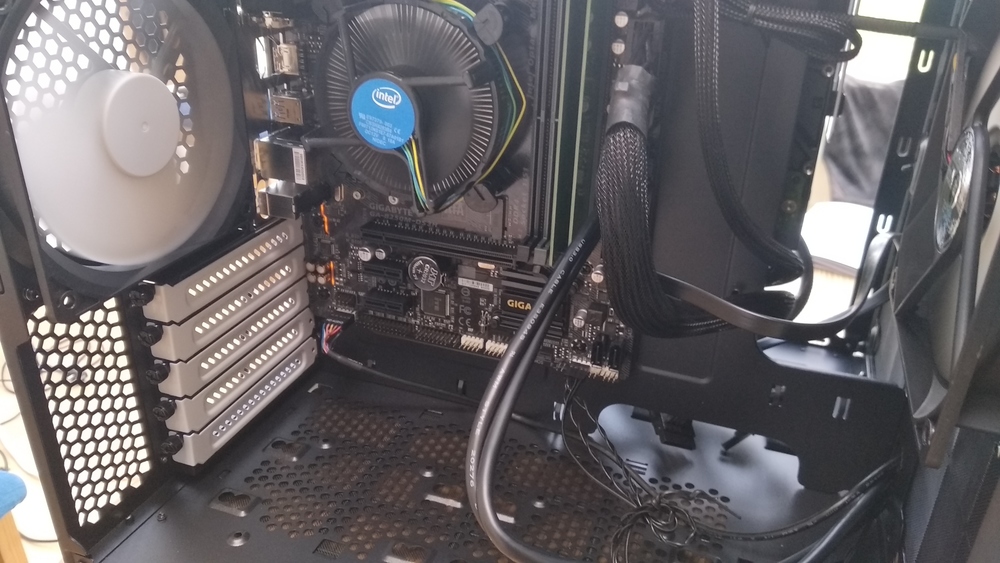
The cabling was difficult, but there is enough room. The fan also works. 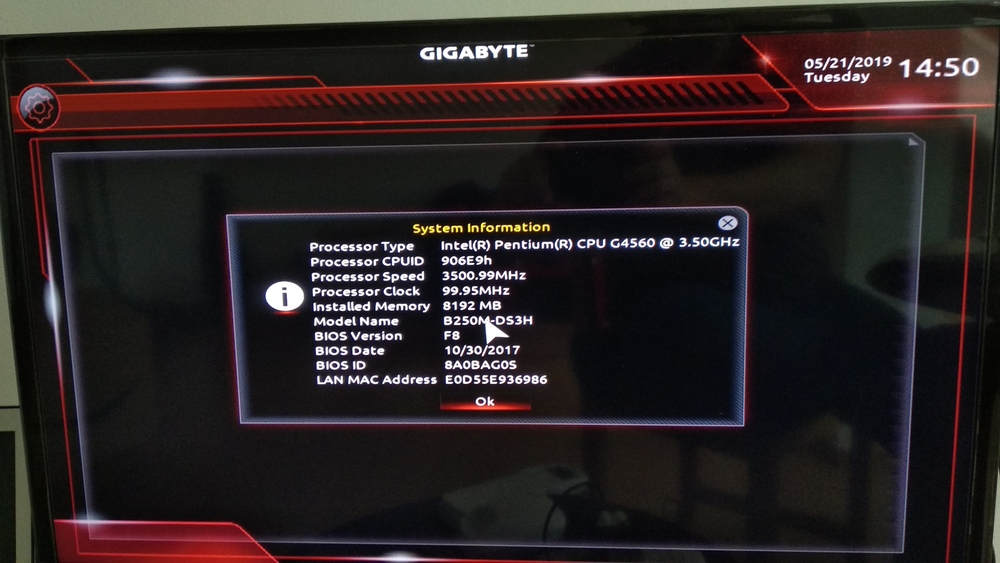
Made it to the BIOS. Mission accomplished!
The operating system
Before thinking about the OS, I want to explain what RAID is and why it is important for NAS systems. A “redundant array of independent disks” is a system to organize multiple drives into one or multiple logical units. It will become clearer with concrete examples of the different levels:
- RAID 0, aka Striping, means zero redundancy and increased read and write speeds. The drives are treated as one individual drive and used both in parallel. So, one big file can be written to multiple drives. Since there is no redundancy, if one drive fails, you lose data.
- RAID 1, aka Mirroring, means that for every byte on a drive, you have the same byte on another one, therefore mirroring a whole drive. Since you have the same file on both drives, you do not lose data if one fails. On the other side, you only get half the drive space, so to save 4 GB you need 2 drives at 4 GB each.
- RAID 5 uses Striping, similar to RAID 0, but also uses an algorithm to reconstruct data if a drive fails. So, you have both faster access and redundancy. You need at least 3 drives for RAID 5.
- There are even more, so check them out if you have more than 2 drives.
Now to the interesting part: Which OS to use? There are a few that one can use, with pros and cons:
- FreeNAS is the most popular OS out there. It apparently has a lot of features and supports ZFS, which is a rather good filesystem for RAID systems. I wish I could have used it, but ZFS is rather complex and requires a lot of computing power and RAM, which I do not have nor need in my setup. If you chose a more powerful CPU, you should definitely use this! It is based on FreeBSD.
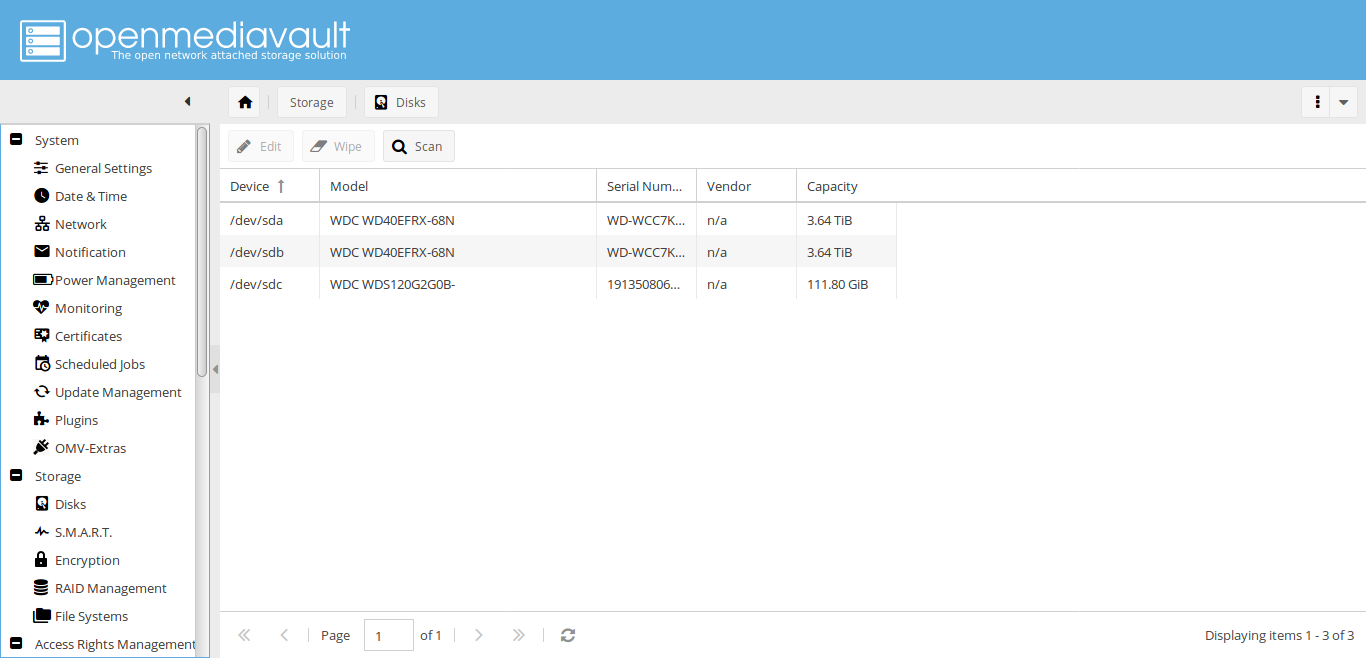
- For beginners and less demanding setups, OpenMediaVault is recommended. It has a lot of features, can be extended using freely available plugins, and supports a variety of different filesystems and RAID levels. It is based on Debian Linux.
Both OSes have a web interface, so you do not need any direct access to the machine to change settings.
In my case, I went with OpenMediaVault. You can create a bootable USB drive to install it on the NAS, which works like a regular Linux installation procedure. Once set up, you can access the web interface using the IP address of the NAS. I had a few problems with networking, since the designated place for the NAS has LAN, while the only place with a screen only has WiFi. If you want to avoid the hassle of setting up WiFi on a Linux system, make sure to connect to the LAN during install.
I had a lot of fun building it, configuration was frustrating, but this was just my inconvenient setup. Once I really start using it (I am waiting for another drive), I might update this post or write a new one on how to use OpenMediaVault. Things I will be definitely doing:
- Experimenting with different RAID levels
- Encrypt everything
- Access from everywhere, but safely
- Use different devices to access, update and delete files
- Setting up different users
So, stay tuned and let me know if you have any questions in the comments below!
[…] bought (for the first time) a lot of new furniture, and finally got a NAS server for my […]